Ingredients for Dough
- 6 cups all purpose flour
- 1.5 cups cold water
- 2 eggs, beaten
- 6 tablespoons canola or vegetable oil
- 2 teaspoons salt
Ingredients for Filling
- 3 ¾ pounds baking potatoes
- 1 medium white onion finely diced
- ⅓ cup softened butter divided
- 4 ½ cups cheddar cheese finely shredded
- salt to taste
- white pepper to taste, or very fine black pepper
Ingredients for Serving
- 1 onion diced or thinly sliced (optional)
- 2 tablespoons butter or as needed for frying (optional)
- sour cream (optional)
Directions for Making Pierogies
- In a large bowl add flour, eggs, oil, salt, and 1 ½ cups of water. Mix well to form a dough, adding more water if needed.
- Knead the dough on a flat surface for about 4 to 5 minutes or until it becomes smooth and pliable.
- Cover the dough with plastic wrap and let it rest at room temperature for at least 30 minutes or up to 1 hour.
- Peel the potatoes and cut them into 2-inch cubes. Place them in a large pot of salted water and bring to a boil. Cook the potatoes for 15 minutes or until fork tender.
- While the potatoes are cooking, in a medium skillet over medium-low heat, cook the onions in 2 tablespoons butter until tender without browning.
- Once the potatoes are cooked, place them in a large bowl and mash them. Add onions, cheese, and remaining butter. Continue mashing until the potatoes become very smooth.
- Using half of the dough, roll it out ⅛” thick. Cut out circles of dough using a 3″ cookie or biscuit cutter.
- Scoop 1 ½ tablespoons of filling and roll into a ball, place on the pierogi dough. Fold the dough over to form a semi-circle and pinch the edges closed. Place on a baking sheet. Repeat.
- The pierogies can either be cooked or frozen at this point.
Directions for Cooking
- Heat 3 tablespoons of butter in a large skillet, add diced onions and cook on medium-low heat until tender. Remove onions from the pan and set aside for serving.
- Bring a large pot of salted water to a boil. Gently add pierogies and cook until they float, about 2 to 4 minutes. Remove with a slotted spoon.
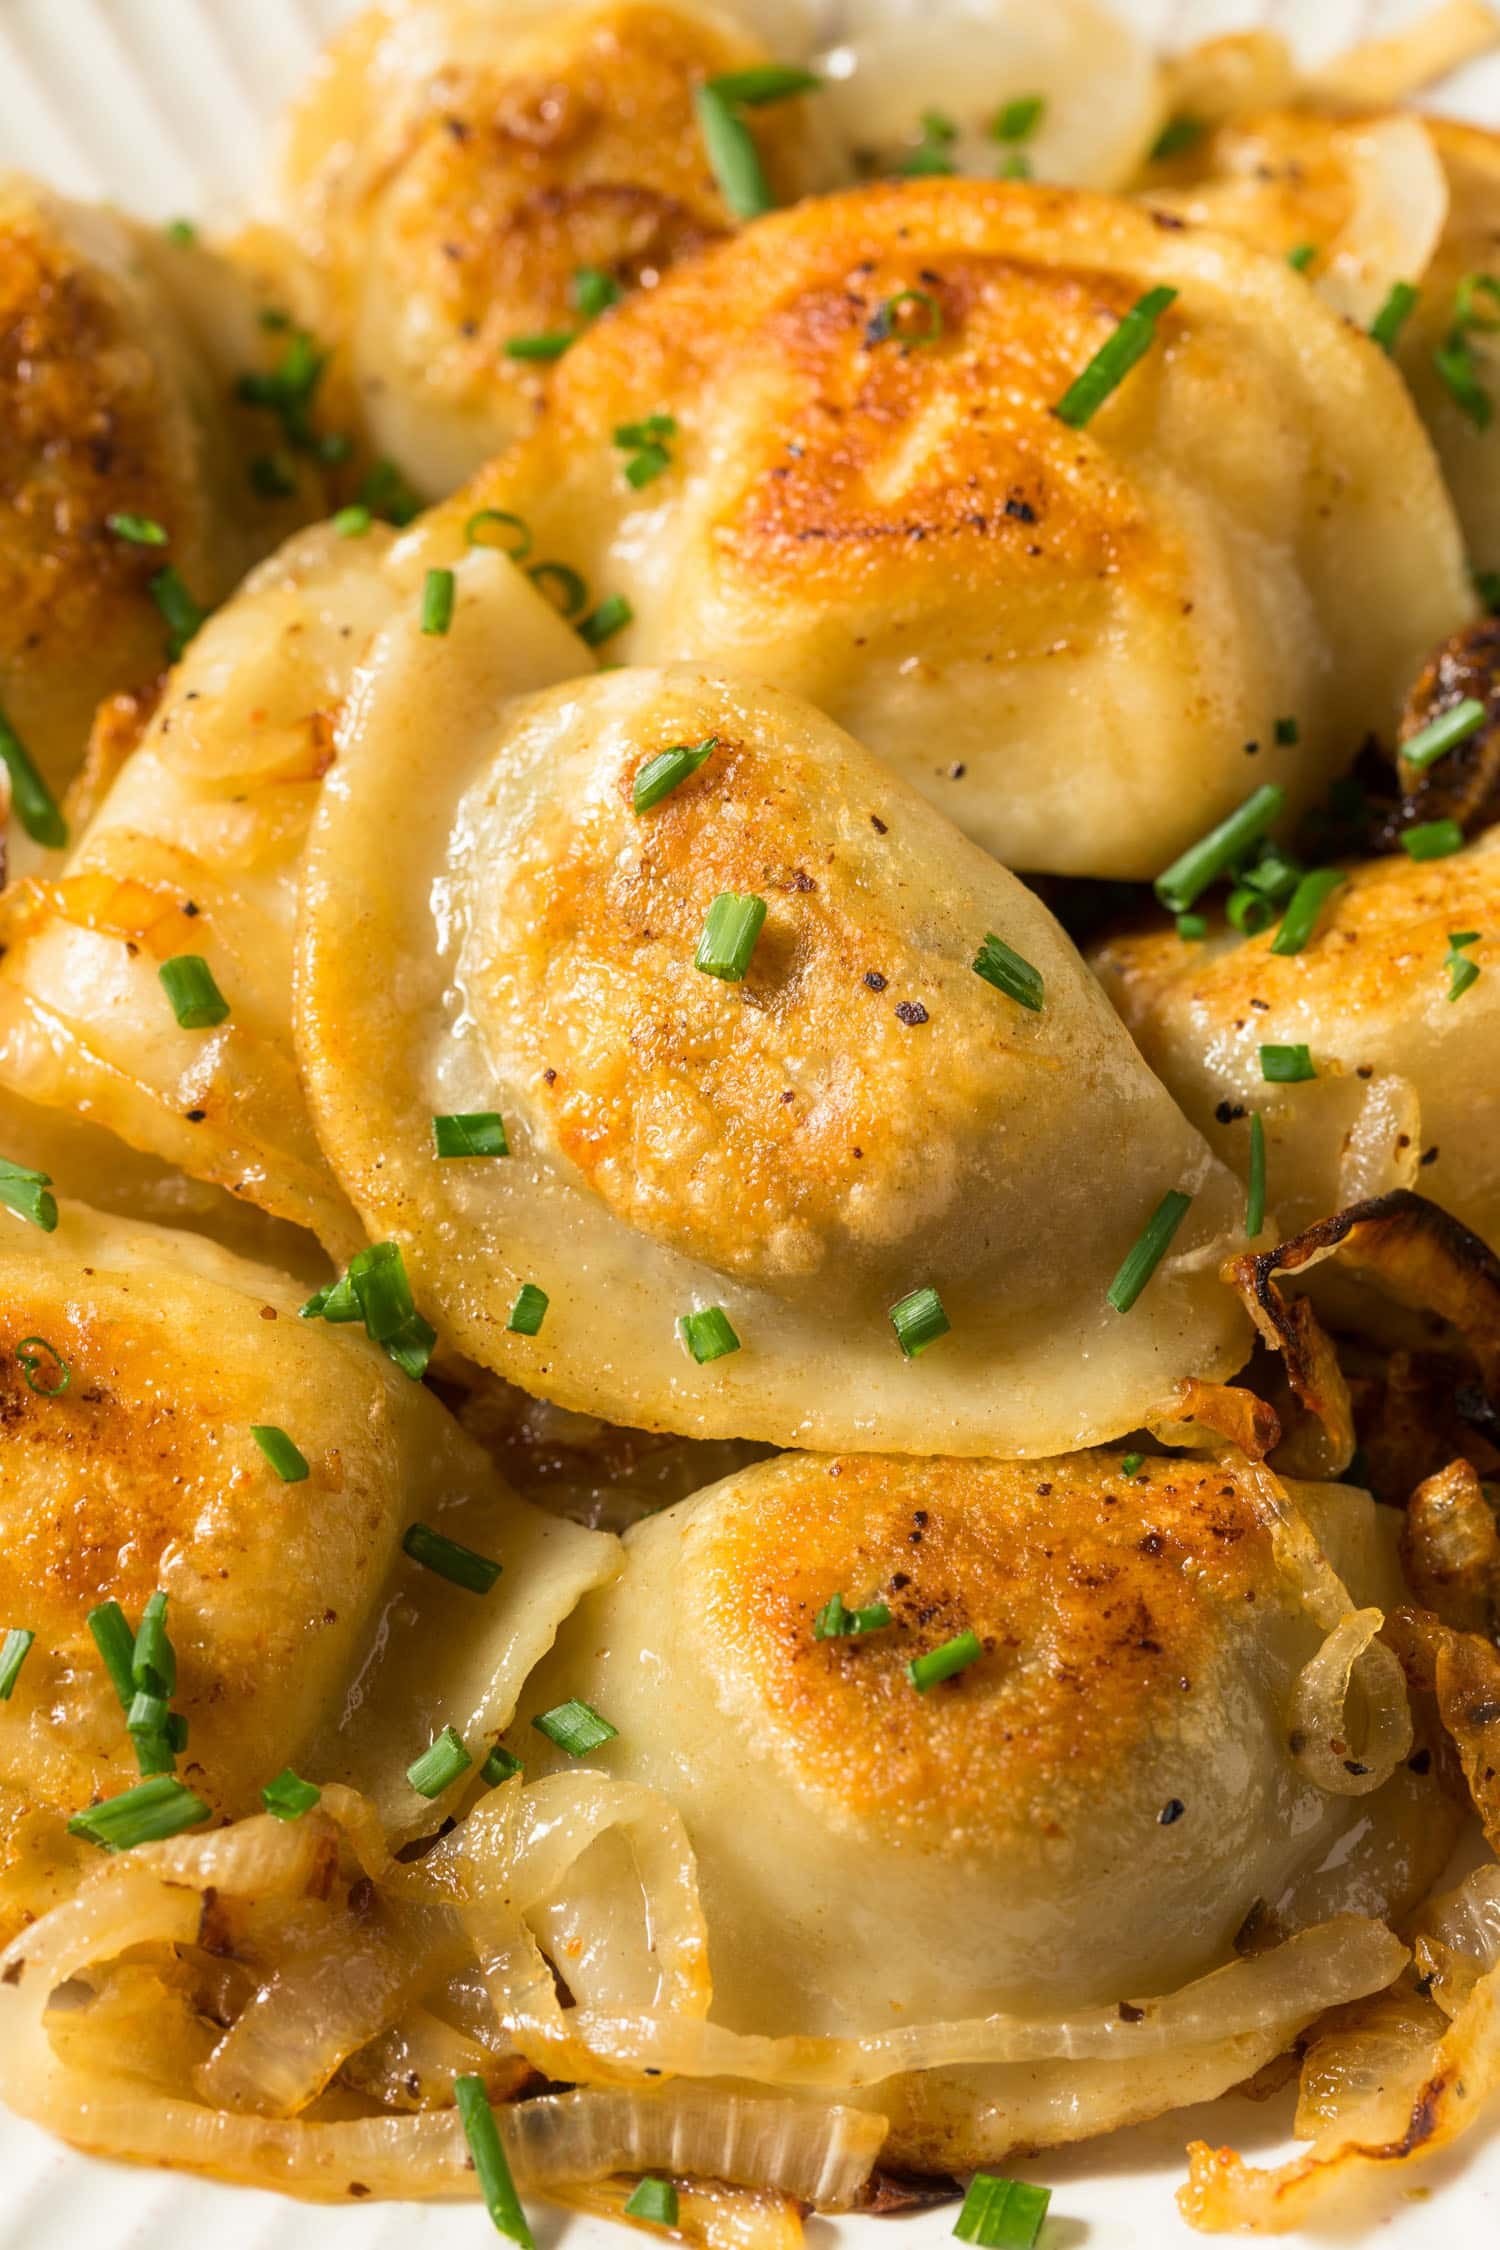
- Transfer pierogies to the hot skillet (adding more butter if needed) and cook until browned on each side, about 5 minutes.
- Serve warm with onions and sour cream.
Notes
- Dough
- Don’t overwork the dough, knead it gently until it’s smooth and pliable. If you overwork the dough it will become tough and too elastic; this will cause it to spring back when rolled out.
- Ensure the part that is pinched together is pinched quite thin, so the dough isn’t too thick. Pinch the edge so it is about the same thickness as the dough. You can trim the excess with kitchen scissors if desired.
- Filling
- Choose a starchy potato such as russet or baking potatoes for the filling. Be sure to shred the cheese yourself from a block.
- Do not brown the onions; cook gently until tender.
- Once mixed, taste the filling and adjust the salt as needed.
- Rolling the Dough
- A second option for the dough is to pinch off a piece and roll it into a circle about 3″ in diameter and 1/8″ thick.
- Storing and Freezing
- Once assembled, pierogi can be frozen up to 3 months. Place pierogies on a parchment-covered baking sheet in a single layer and freeze. Once frozen, place them into a zippered bag with the date written on the outside.
- No need to thaw before boiling, cook right from frozen.